Bước 1: Truy cập website: office.com chọn Đăng nhập với tài khoản email @fe.edu.vn
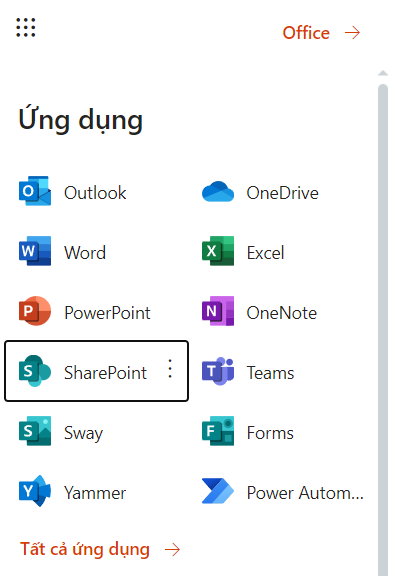
Bước 2: Mở Công cụ khởi động ứng dụng và chọn SharePoint
![](https://it.fpt.edu.vn/wp-content/uploads/2022/06/image-1.png)
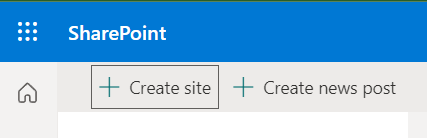
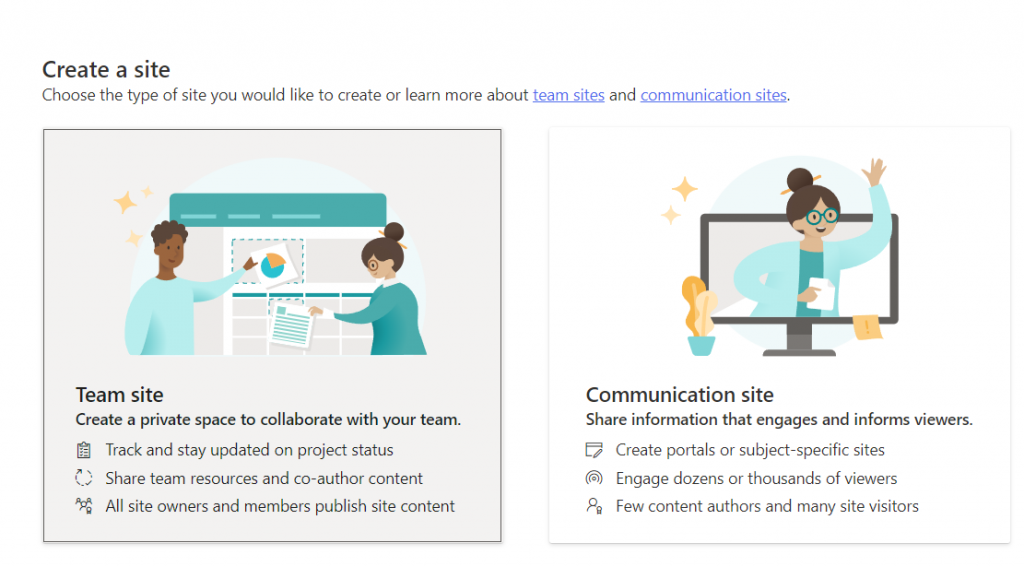
Bước 3: Click vào Create site và chọn Team site
![](https://it.fpt.edu.vn/wp-content/uploads/2022/06/image-4.png)
![](https://it.fpt.edu.vn/wp-content/uploads/2022/06/image-3-1024x567.png)
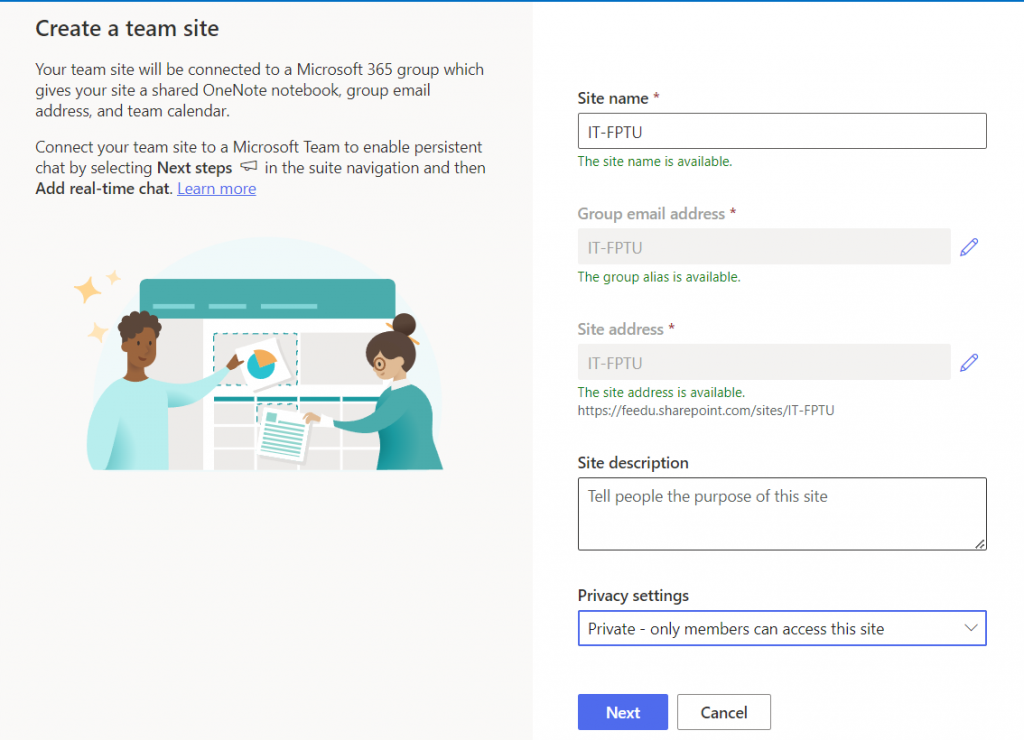
Bước 4: Điền thông tin site
![](https://it.fpt.edu.vn/wp-content/uploads/2022/06/image-5-1024x740.png)
Bước 5: Thêm thành viên nhóm vào site
![](https://it.fpt.edu.vn/wp-content/uploads/2022/06/image-6-1024x628.png)
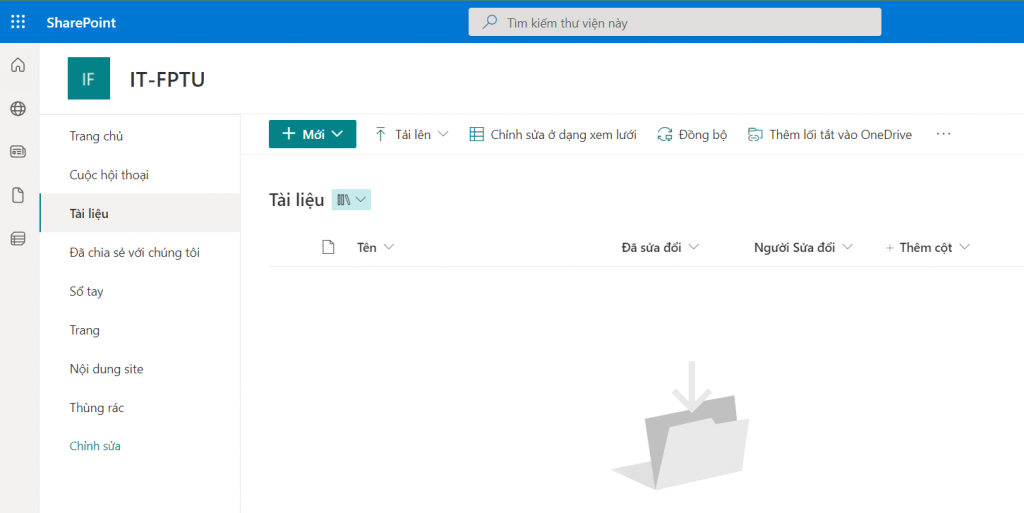
Bước 6: Tạo và quản lý tài liệu trên SharePoint trong mục Tài liệu
![](https://it.fpt.edu.vn/wp-content/uploads/2022/06/image-7-1024x513.png)
Đồng bộ hóa SharePoint với máy tính
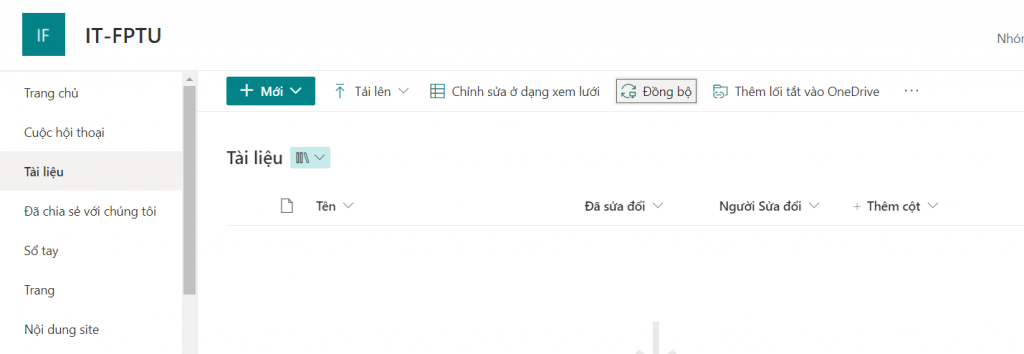
Bước 1: Click vào nút Đồng bộ trên giao diện SharePoint
![](https://it.fpt.edu.vn/wp-content/uploads/2022/06/image-9-1024x354.png)
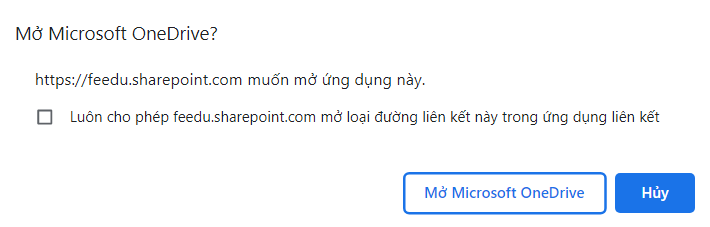
Trên thông báo chọn Mở Microsoft OneDrive
![](https://it.fpt.edu.vn/wp-content/uploads/2022/06/image-8.png)
Lưu ý: Đối với máy tính chưa cài đặt OneDrive App thì phải tải và cài app trước tại đây Sau đó login bằng Email @fe.edu.vn
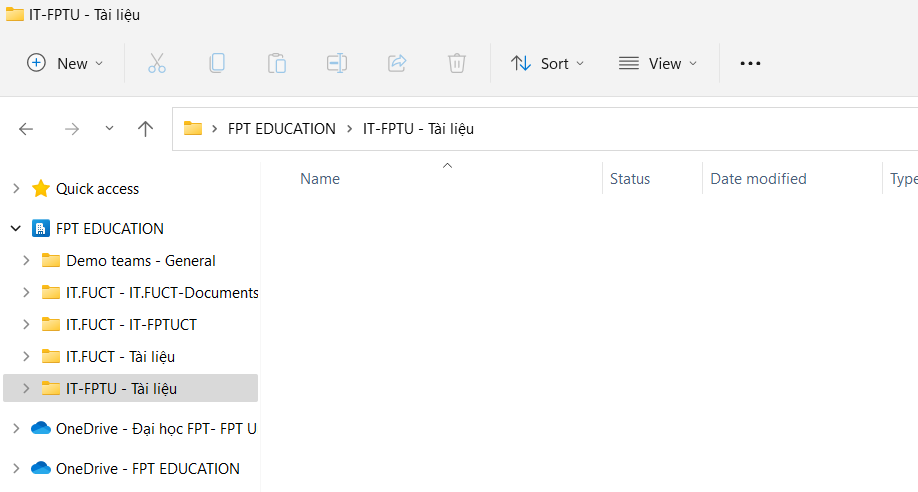
Quá trình cài đặt hoàn tất sẽ xuất hiện một shortcut tại File Explorer trên máy tính Windows (Hoặc Finder trên Mac) có tên FPT EDUCATION và thư mục SharePoint bạn tạo sẽ nằm bên trong
![](https://it.fpt.edu.vn/wp-content/uploads/2022/06/image-10.png)
Thêm thành viên vào Team Site
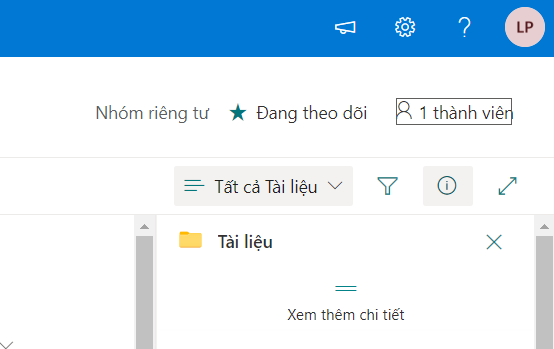
Bước 1: Click vào biểu tượng thành viên nhóm (hiển thị số thành viên hiện tại)
![](https://it.fpt.edu.vn/wp-content/uploads/2022/06/image-11.png)
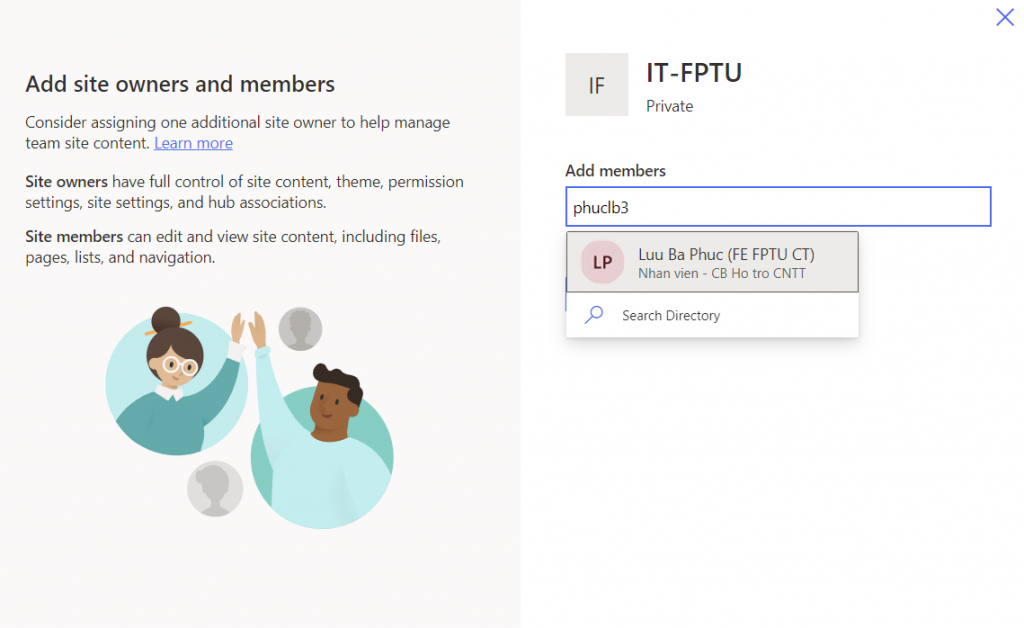
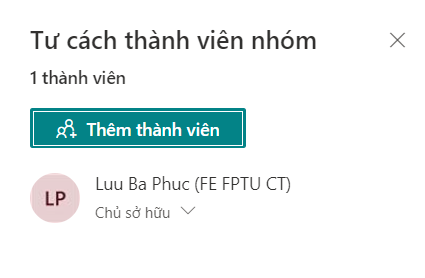
Bước 2: Chọn Thêm thành viên
![](https://it.fpt.edu.vn/wp-content/uploads/2022/06/image-12.png)
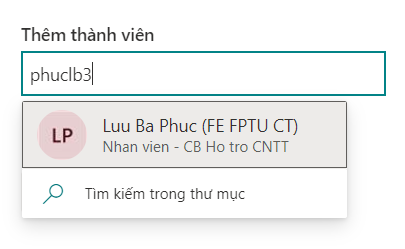
Nhập email thành viên và chọn Lưu lại
![](https://it.fpt.edu.vn/wp-content/uploads/2022/06/image-13.png)
Bước 3: Quản lý quyền
![](https://it.fpt.edu.vn/wp-content/uploads/2022/06/image-14.png)
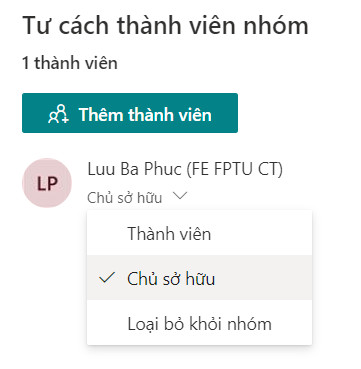
Lưu ý: chỉ thêm được thành viên cùng tổ chức FPT Education vào Team site
Chuyển dữ liệu từ Shared drive (Google) sang Sharepoint
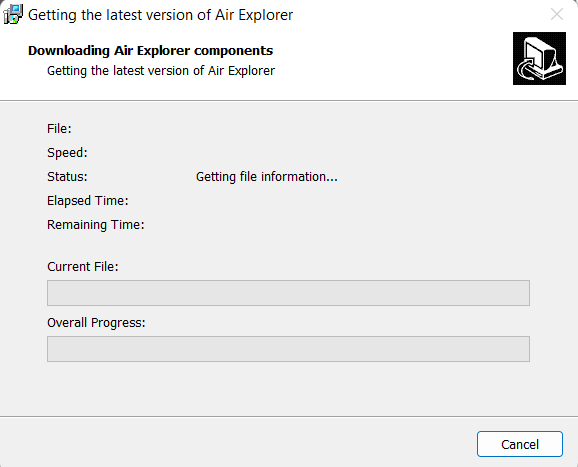
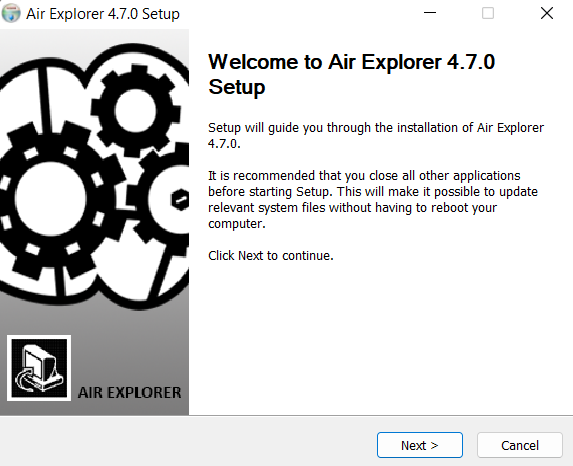
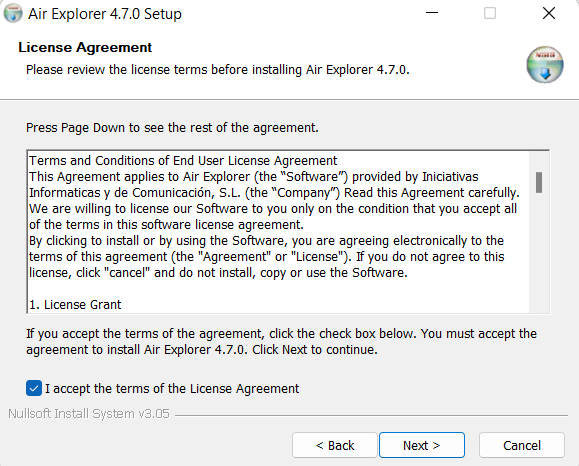
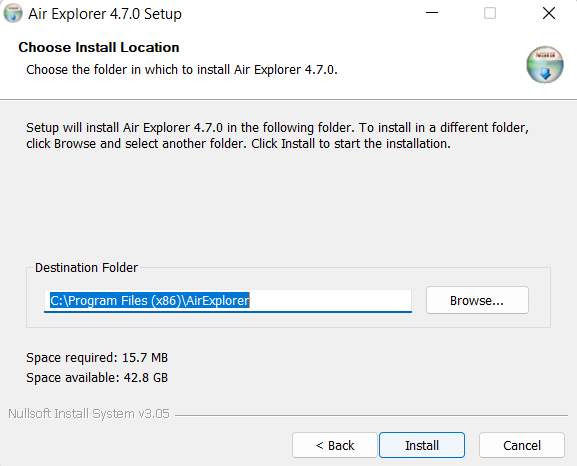
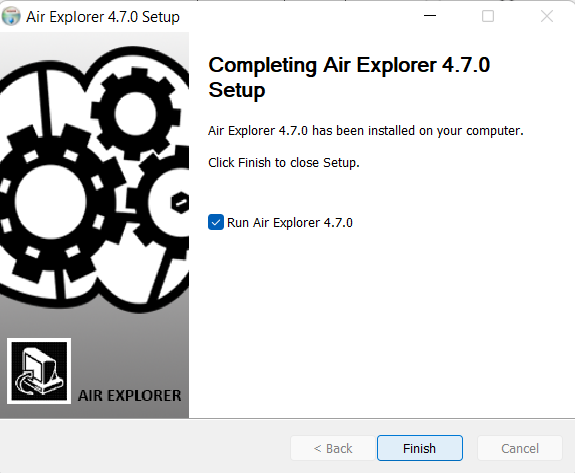
Bước 1: Tải và cài đặt AirExplorer trên máy tính tại đây.
![](https://it.fpt.edu.vn/wp-content/uploads/2022/06/image-15.png)
![](https://it.fpt.edu.vn/wp-content/uploads/2022/06/image-16.png)
![](https://it.fpt.edu.vn/wp-content/uploads/2022/06/image-17.png)
![](https://it.fpt.edu.vn/wp-content/uploads/2022/06/image-18.png)
![](https://it.fpt.edu.vn/wp-content/uploads/2022/06/image-19.png)
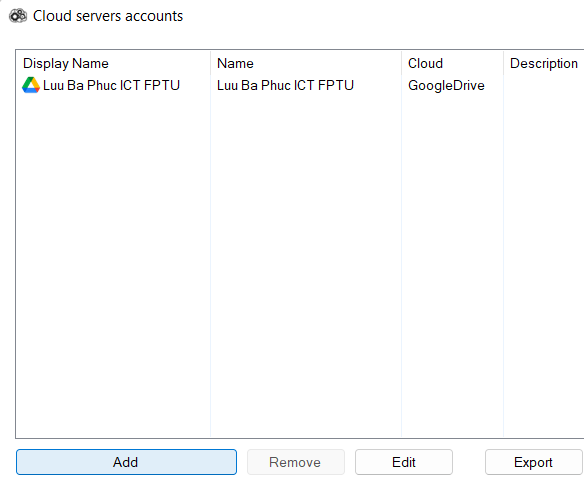
Bước 2: Mở AirExplorer và Đăng nhập các tài khoản
![](https://it.fpt.edu.vn/wp-content/uploads/2022/06/image-20-1024x500.png)
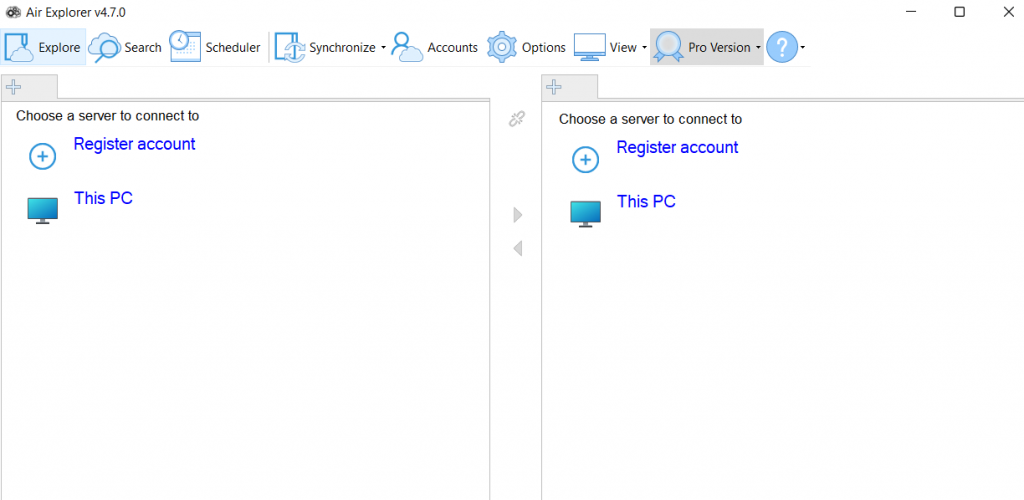
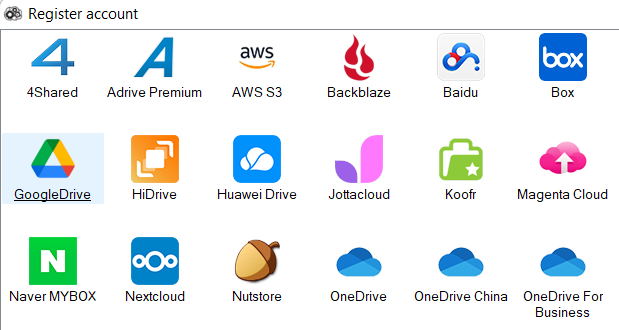
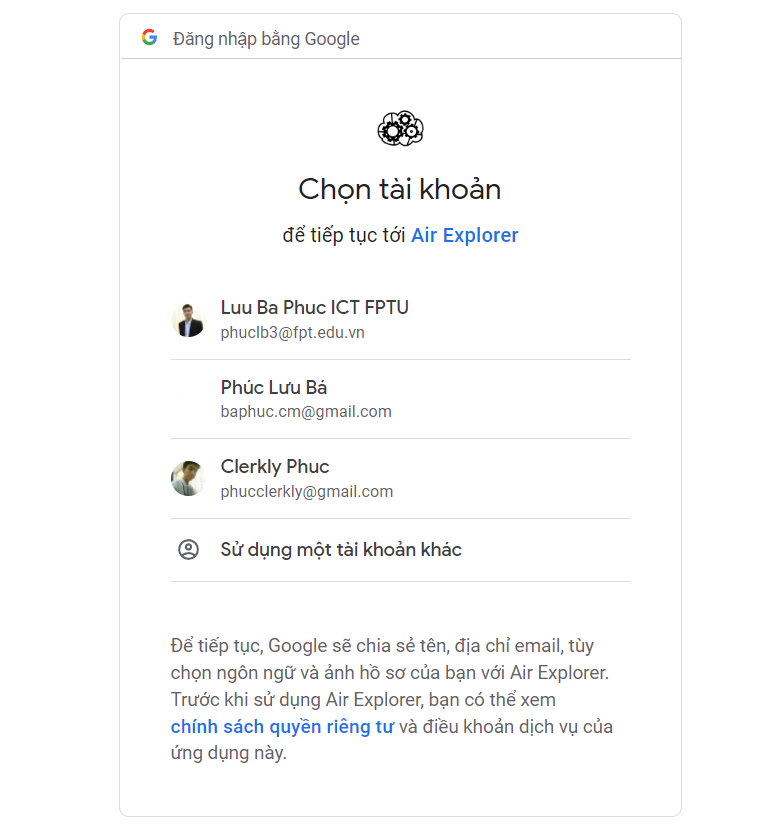
Đăng nhập tài khoản Google với email [email protected] bằng nút Register account
![](https://it.fpt.edu.vn/wp-content/uploads/2022/06/image-21.png)
![](https://it.fpt.edu.vn/wp-content/uploads/2022/06/image-22.png)
![](https://it.fpt.edu.vn/wp-content/uploads/2022/06/image-23.png)
![](https://it.fpt.edu.vn/wp-content/uploads/2022/06/image-24.png)
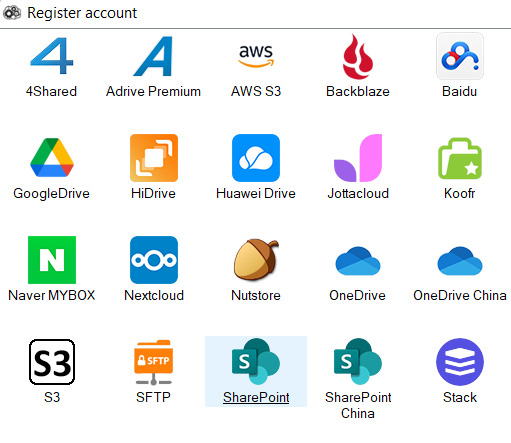
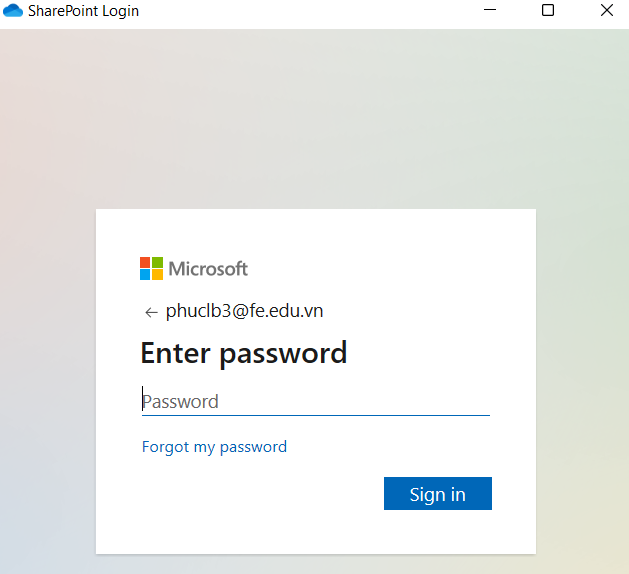
Tiếp tục thêm tài khoản Sharepoint bằng [email protected]
![](https://it.fpt.edu.vn/wp-content/uploads/2022/06/image-25.png)
![](https://it.fpt.edu.vn/wp-content/uploads/2022/06/image-26.png)
![](https://it.fpt.edu.vn/wp-content/uploads/2022/06/image-27.png)
Trên cửa sổ bên trái, Click vào Google Drive
![](https://it.fpt.edu.vn/wp-content/uploads/2022/06/image-28.png)
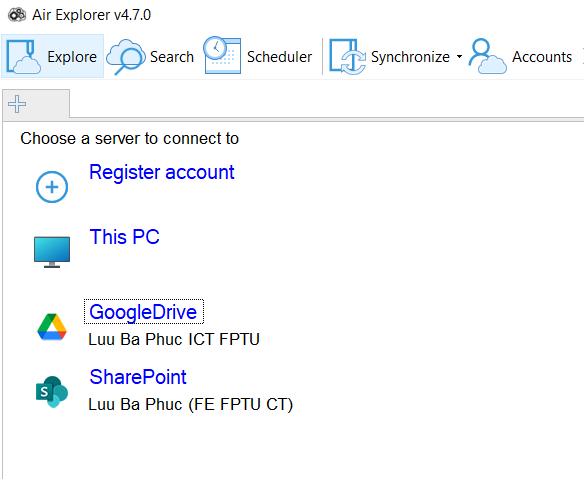
Trên cửa sổ bên phải, Click vào SharePoint
![](https://it.fpt.edu.vn/wp-content/uploads/2022/06/image-29.png)
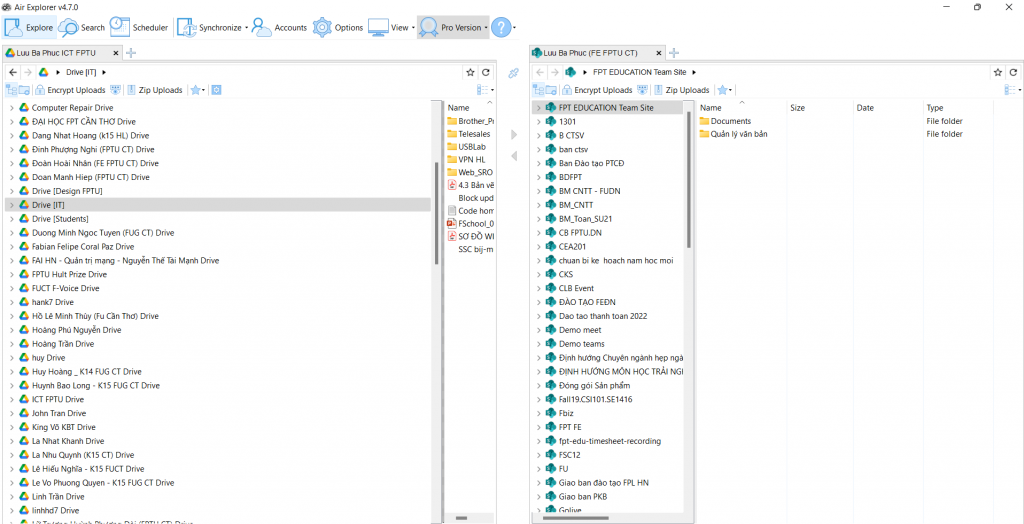
Đăng nhập thành công các tài khoản, AirExplorer có giao diện như bên dưới, việc cần làm tiếp theo là chọn đúng Shared Drive theo phòng ban để tiến hành đồng bộ sang SharePoint
![](https://it.fpt.edu.vn/wp-content/uploads/2022/06/image-30-1024x524.png)
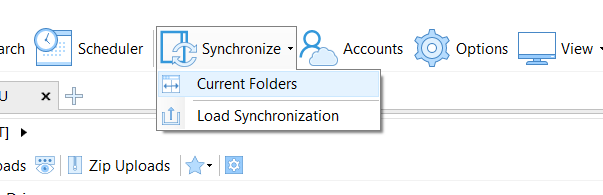
Bước 3: Tiến hành đồng bộ
Chọn nút Synchronize sau đó chọn Current folders
![](https://it.fpt.edu.vn/wp-content/uploads/2022/06/image-31.png)
![](https://it.fpt.edu.vn/wp-content/uploads/2022/06/image-32.png)
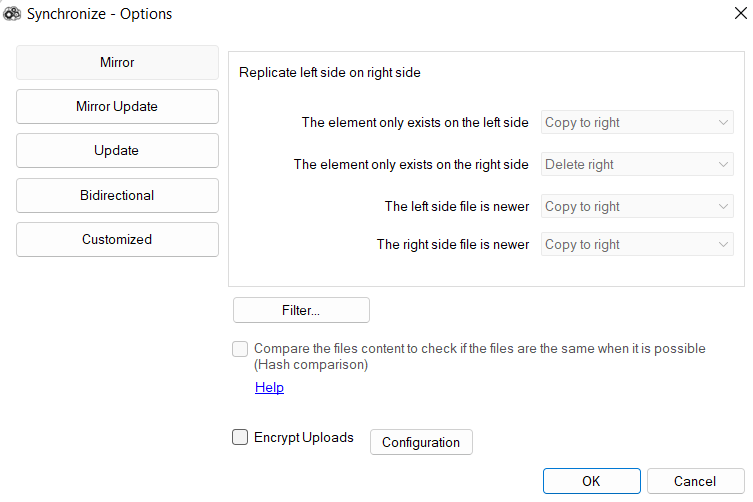
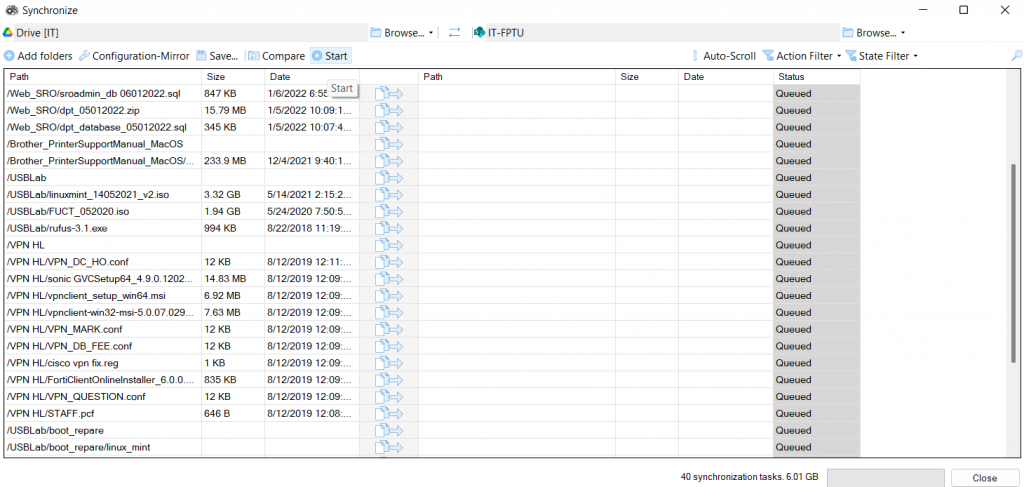
Kiểm tra tên các Folder cần Sync và ấn Compare
![](https://it.fpt.edu.vn/wp-content/uploads/2022/06/image-33-1024x187.png)
Kiểm tra các file bên trong một lần nữa và ấn Start để bắt đầu Sync
![](https://it.fpt.edu.vn/wp-content/uploads/2022/06/image-34-1024x487.png)
Lưu ý: Trong quá trình Sync phải luôn giữ máy tính, AirExplorer mở, đảm bảo kết nối mạng ổn định.